Are you considering a flexible seating classroom? I went all in this year and I couldn’t be more excited about it. My students love it and I am seeing them be more successful every day! This post shares tips and tricks for how to implement, ideas for flexible seating options for an upper elementary classroom (that would totally work in a younger grade too), as well as resources and a FREEBIE for you!
This post contains some affiliate links to make your life easier! Any purchases made through one of these links earns us a small commission. at no extra cost to you. The commission helps to support the blog so we can continue to share content and freebies with you. All views and opinions are purely my own.
What is Flexible Seating?
First, it is essential to know what flexible seating is and the purpose for it within the classroom. Flexible classrooms give students the opportunity to choose what type of learning space works best for them. These classrooms have numerous options for students to choose from to increase their attention and engagement during the day. Flexible seating classrooms can be extremely structured, while still allowing for student choice. Research supports students being comfortable while learning. Think about yourself. Where are you sitting right now while you are reading this? Probably not on a hard plastic chair in a desk that more than likely doesn’t fit you. Am I right?
Flexible classrooms also support student collaboration. Many flexible seating classrooms include options on wheels (chairs as well as bookshelves and tables) that can easily be moved around to create open spaces. In my classroom, our flexible seating options are all easy for students to move to new spots and we can arrange our room in many different ways.
Flexible Seating Options:
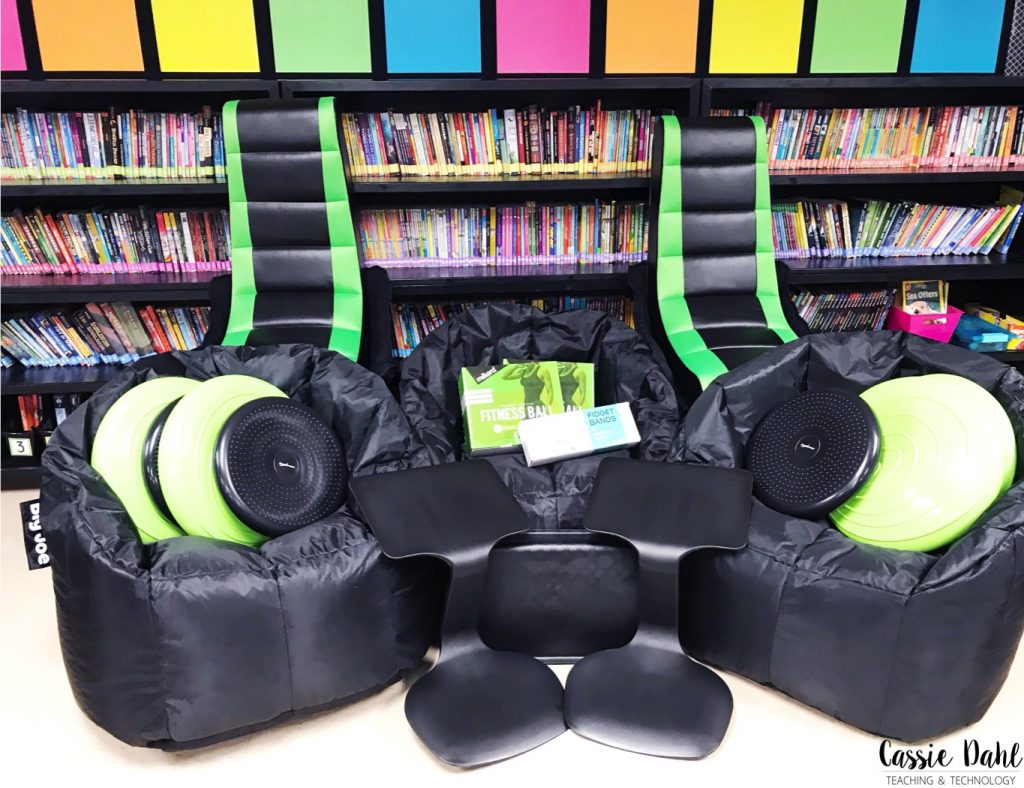
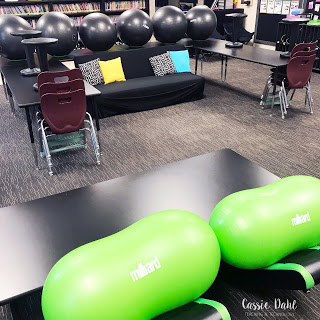
There are numerous options that you can use in your classroom. Always be considerate of your students’ physical needs when choosing options. Wipeable or washable surfaces are essential! Here is what I have in my classroom:
- Big Joe Milano Bean Bag Chairs (Limo Black) from Amazon
- Dorel Kebo Futon (Black) from Amazon
- ECR4Kids Portable Lap Desks (Green) from Amazon
- Series 8 75cm Yoga Balls (Black) from FiveBelow
- Kickfix Bands from Amazon
- Mainstays Collapsible Square Chair from Walmart
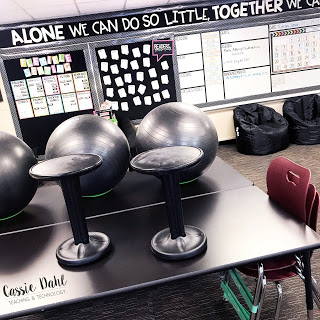
- Teen Kore Wobble Stools (Black) from Amazon (I used Scholastic Bonus Points to get our Wobble Stools, but linked to equivalent ones on Amazon).
- Milliard Peanut Balls from Amazon
- YOGU Stability Wobble Cushions (Black) from Amazon
- Gaiam Balance Disc (Wasabi) from Amazon
- Folding Stool (Black) from Target
- Video Game Rockers from Amazon
You can also find great ideas on Pinterest! Keep an eye out at garage sales for dorm chairs, futons, or small couches that you could easily throw a cover over. The futon is definitely the #1 option in our classroom!
Setting Expectations/Procedures:
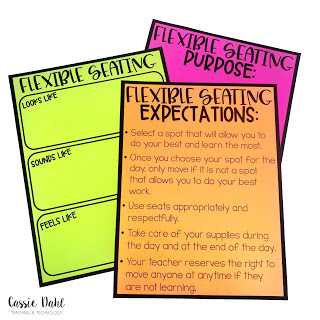
This is the most important part of a flexible seating classroom. You must set up clear expectations and procedures to maximize the benefits of flexible seating. As a class, we talked a lot about why were going to have flexible seating, how the classroom would look/feel with flexible seating during the day and at the end of the day, how flexible seating options were to be used, and the procedure for choosing seating options.
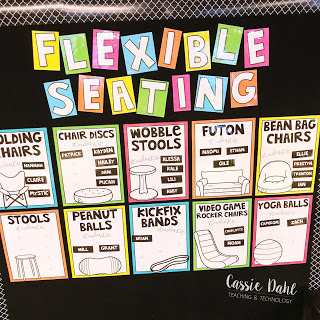
Our procedure for choosing: I devoted a bulletin board to our flexible seating option posters. At the end of the day, all names are taken down (they are attached with velcro). Names are drawn one by one and students choose their flexible seating option to start the next day. My students are able to switch throughout the day if they need to, however, I wanted to avoid the mad rush in the morning for the favorite options. You can grab these posters here! The resource includes 25 different options to match all flexible options in your classroom!
We also set up end of the day procedures. I wanted to be sure that our flexible seating options were not an inconvenience for our custodial staff. They do an awesome job in our classroom, so we thought about all the ways we could make it easy to clean. I purchased small plastic plates at the Dollar Tree to use to “hold” the yoga balls on the tables overnight (I also put about 2 cups of salt in each of them before blowing them up to lessen the rolling). The wobble stools get stacked on top of the tables. Our chair discs get stored under the futon. It all needed a procedure, so we worked as a class to develop one.
Discussing “What If” Scenarios:
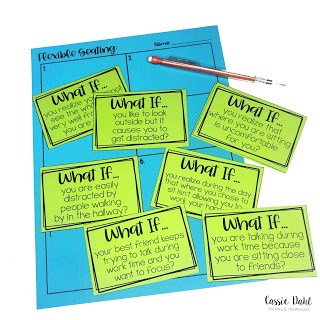
Giving students time to think about various “what if” scenarios encourages them to use their problem solving skills to brainstorm a solution. I printed out eight different scenarios and taped them up around the room. My students then did a museum walk to read the scenarios and record what they would do. Afterwards, we had a class meeting to discuss the eight scenarios. It was the perfect activity to kick off our flexible seating!
Communication with Parents:
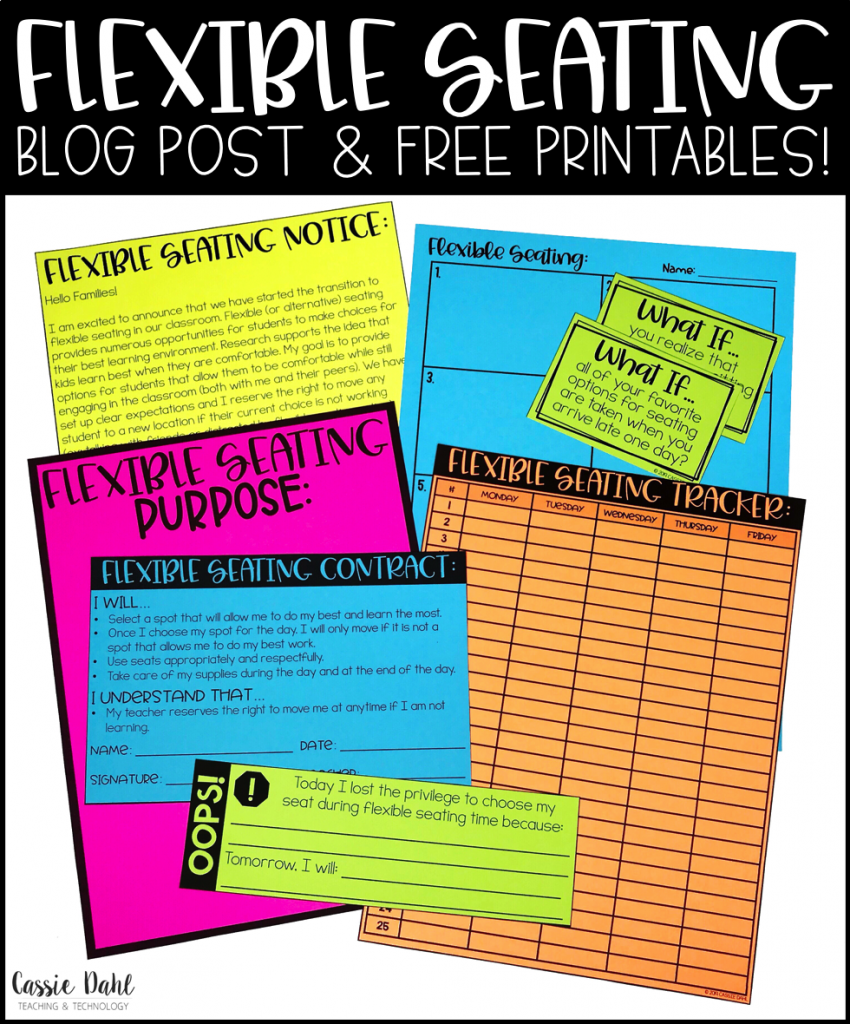
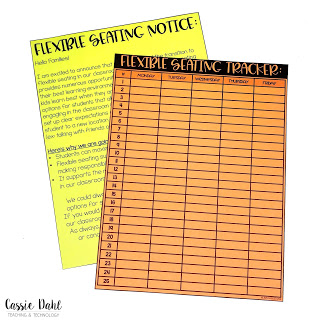
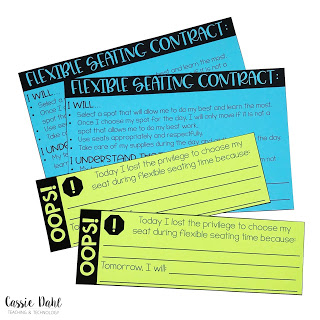
Parents love to know what is happening in their child’s classroom. Many of them have not had experience with a flexible seating classroom, so it is important to answer questions from the very start of the year. I sent home a letter to parents when all of our flexible seating options started arriving. I also created little “oops” notes to send home if students used their flexible seating option inappropriately. This continuous communication helps parents feel more at ease knowing that the classroom is still managed and an appropriate learning environment for their child. Students also signed a contract for flexible seating at the beginning of the year. A copy of this contract was sent home for parents too!
Be Flexible:
This goes without saying, but I think it’s still important to mention. You need to be flexible with flexible seating. The procedures, layout, rules, etc. cannot be steadfast. About midway through the year, I realized that our flexible seating needed a refresh. Students were distracted, behaviors were unusual (and increasing), and our room felt a little chaotic. We held a classroom meeting to discuss feelings/thoughts and I was amazed at what my students shared. We made a new plan for our layout (to be sure that no backs were to the front of the room) and changed a few procedures. Everything has been going so much better since that conversation.
Kids truly have great ideas, we just have to give them a chance to share them! I have learned so much during my first year with flexible seating. More importantly, I am so glad that I decided to jump on the flexible seating train and transform our learning environment!
I put together a free resource full of the materials shared in this blog post to make the transition to flexible seating just a bit easier for you! Click HERE to download.
Do you have any questions about flexible seating? What are your students’ favorite flexible seating options? I would love to hear about new ideas to integrate into our room!

