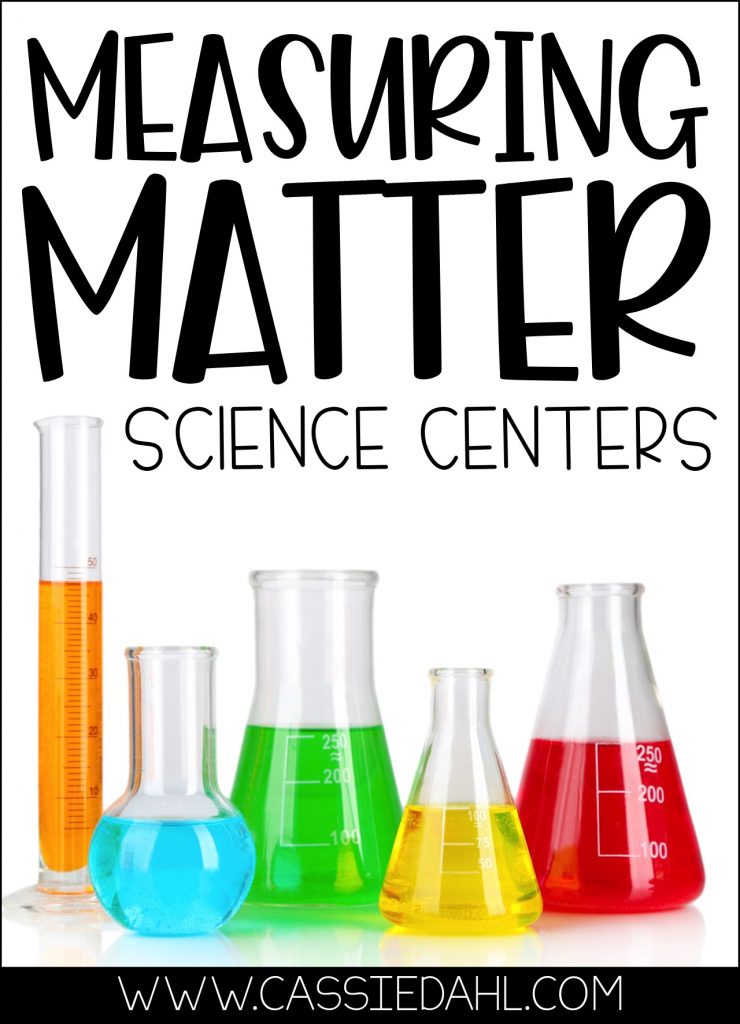
To wrap up our Matter Unit we spend an afternoon measuring matter in some fun centers. We use graduated cylinders, spring scales, triple-beam balances and also meter sticks. Keep on reading to find what each center involves and grab our center sheet as a freebie at the end!
Setting The Stage:
Of course there is some key vocabulary that I teach during our unit. The centers are used to reinforce those terms. I display vocabulary posters so students can reference them during our centers.
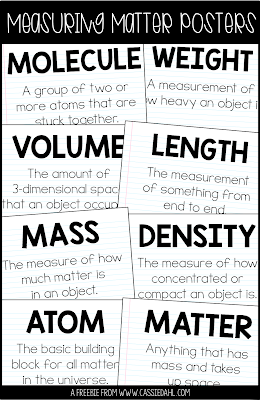
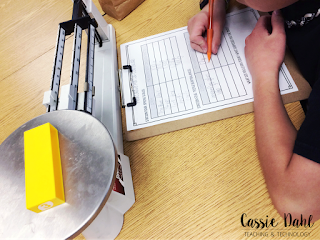
Want the posters? They are a freebie for you! Click to here to download. Each student also has a recording sheet. The recording sheet is designed to allow you to choose different objects, so if you don’t have the items shown below… That’s Okay!
Click here to download the recording sheet freebie.
Center 1- Measuring Mass:
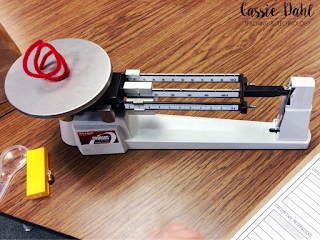
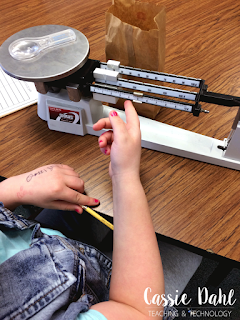
We used triple beam balances to find the mass of five different objects. We had 5 different balances set up, each with their own bag of mixed materials. Each bag had a different set of items so kids were measuring a variety of things (this helped to deter them from copying each other). Some great items for kids to measure are pipe cleaners, small lightbulbs, magnifying glasses, Jenga blocks, small books, rocks, paper clips, etc. They measure five items from the bag and record their findings on the recording sheet.
Center 2- Finding Length:
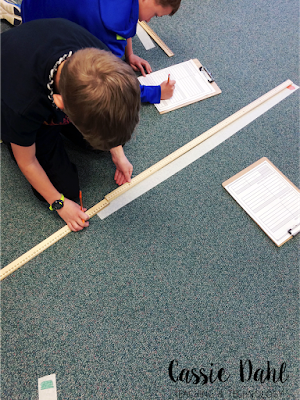
This center was the easiest to set up! I used wide masking tape and marked five different sized lines on the floor of our classroom. I made sure to make at least one of them longer than the meter stick to see how they would problem solve. On the end of each piece of masking tape, I used a colored sharpie to label it (red, orange, green, blue, purple). That way they were able to easily identify and record each of the different lines on their recording sheet.
Center 3- Measuring Volume:
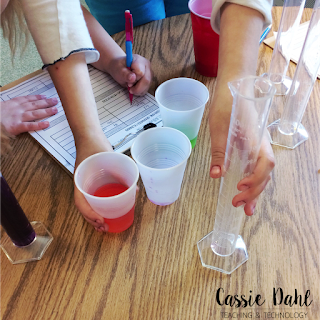
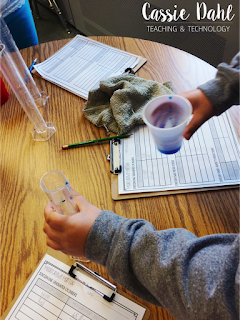
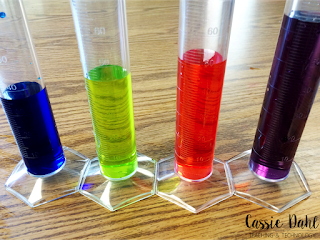
My students enjoyed this center the most. On a table I had five different colored liquids (aka water with food coloring). Each one was a different volume. I put the liquids in a cup and they had to pour it into the graduated cylinder, measure the volume, record and then pour it back into the cup. They measured and recorded all five liquids.
Center 4- Measuring Mass… Again:
We used spring scales to measure mass. I wanted my students to be familiar with how to use a spring scale. In fifth grade, they use them during their force and motion unit. We just focused on how we can measure the mass of objects in grams. I had a variety of things for them to measure (again, they only needed to measure 5 objects).
The best way I have found for students to measure with the spring scales is to use small containers with handles for them to put the items in. We talk about how we need to measure just the container with the object, just the container and subtract the two to find the accurate mass of the object.
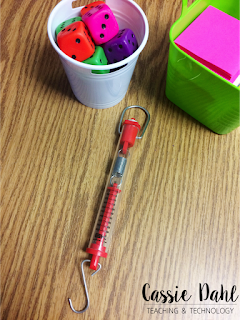
It is fun to have more things on hand than what students will need to measure so they can pick and choose. We used base ten blocks, rocks, alphabet stones (which we use for word work), highlighters, index cards, magnets, pennies, beads, etc.
Center 5- Density Trial (an added bonus):
We only skim the surface of density in fourth grade. Our goal is for students to realize that objects with the same volume can have different densities (and vice versa). I teach my students that density = mass/volume. To prove the theory of one constant but still a different density, I resort to the good ole Coke and Diet Coke experiment.
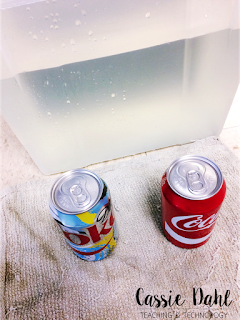
To set up, you will want students to make a prediction about whether each will sink or float. I have them make their predictions when I hand out the recording sheets, that way during center time- if they happen to see another student working at that center and their results, it isn’t completely spoiled for them. Then you will need a can of Coke and Diet Coke and a large tub of water. The only thing I had in my classroom that would work is a file folder box, but it sure worked perfectly!
You will also want some towels or rags around your center so students have somewhere to put the cans as they take them out of the water. After they make their predictions, they will place each can in the water and see what happens. The can of Diet Coke will float (it is less dense than water) and the can of Coke will sink (it is more dense than water). Surprise!
Quick Explanation: Are you wondering why this is? They have the same volume, the can is the same shape… so what gives? It is actually very simple. The can of Coke has 39 grams of sugar, whereas the can of Diet Coke has 125 milligrams of sweetener. This small difference is the reason one sinks and one floats.
Hope you were able to find some of those center ideas helpful! My students love exploring science through hands-on activities and these are perfect for station work!
Feel free to pin the image below to save this post for later!
